We took a drive to see sea today. Slight change of plan on route due to petrol light coming on and having to drive further to find a garage, so we ended up coasting into Cromer. It was so great to be out in countryside and away from city stuff.
Saturday, 16 February 2013
Thursday, 14 February 2013
Happy valentines day!
Normal day of chaos here, non stop running after a rolling Pearl. She is so nearly crawling but not sure if that will make things worse or better! Thank goodness were getting a playpen on Sunday.
However I did get this bag made when she was sleeping this morning, basically just replacing the one that I made yesterday that got coffee knocked all over it this morning...Actually it's better than the coffee bag.
Also as its valentines day I helped Pearl send het first card to her baby friend.
However I did get this bag made when she was sleeping this morning, basically just replacing the one that I made yesterday that got coffee knocked all over it this morning...Actually it's better than the coffee bag.
Also as its valentines day I helped Pearl send het first card to her baby friend.
Wednesday, 6 February 2013
Spring list
Mint
White and black
Leather
Antique bronze
Feathers
Dots
Triangles
Pale pink
Netting
Gold spikes
Flowers in vases
Current Pinterest inspiration for new designs : http://pinterest.com/queeniequiltsuk/spring-collection-inspiration/
White and black
Leather
Antique bronze
Feathers
Dots
Triangles
Pale pink
Netting
Gold spikes
Flowers in vases
Current Pinterest inspiration for new designs : http://pinterest.com/queeniequiltsuk/spring-collection-inspiration/
Monday, 4 February 2013
sneak peak
New collection coming on nicely. I've been working really hard the last few weeks, testing different sizes and zip techniques, materials and samples. Finally happy with the finished lot.
First up, Fold over clutch bags. lots of lovely colours and fabrics, mix of mint, leather and tweed.
Saturday, 2 February 2013
Norwich Makers Market
Super Queenie is really happy that were going to be a part of The Norwich
Makers Market, taking place,
Saturday 13th of April @ on Earlham Road, Norwich UK.
This looks like a really great collective of local crafters and makers, with some Vintage stalls as well. So be sure to put it in your diaries and come and check it out!
Have a look at their blog for more information, http://norwichmakersmarket.tumblr.com/
There is a facebook group too for updates and info https://www.facebook.com/?ref=logo#!/norwichmakersmarket
This will be the first craft fair that I have done in a while, and the first I have done since being back in Norwich. I love doing craft fairs, its so exciting, setting up a stall and making all the things that you've made displayed and looking fab. Its really good to work to a deadline too, of making more things to be ready in time. I have a few new lines of products that I'm beavering away to make in time!
This stall from the last Norwich Makers Market just looks so beautiful and inviting. Love it.
Friday, 1 February 2013
Wednesday, 30 January 2013
Valentines Wish List
Love is surely in the air.
A Beautiful collection of the finest Etsy Romantic finds which I would happily give home to any day.
Ceramic Bowl in Black and White Hearts
So beautiful, I would like all my cups and dishes to be like this one.(made to order) by RossLab
Buy here: http://www.etsy.com/shop/RossLab
Valentine Hearts Garland
Bright and bold crochet hearts from Annemariesbreiblog
Buy here: http://www.etsy.com/shop/annemariesbreiblog
Gold Glitter Heart Necklace
Super Cute from NasuKka
Buy here: http://www.etsy.com/shop/NasuKka?ref=seller_info
Playsuit- Black Lace - Made to Order
Love the design! from Nearerthemoon
Buy here: http://www.etsy.com/shop/nearerthemoon?ref=seller_info
Big Golden Glitter Heart Shoe Clips
Just lovely! I want these on all of my shoes.
Buy here: From Polly McGeary
http://www.etsy.com/shop/PollyMcGeary?ref=seller_info
Sunday, 27 January 2013
D.I.Y make up bow bag
Lets kick things off with a tutorial on how I make one of my
favourite designs, Super Queenie's Bow Bag. Simple fold over bag, easy to make and
looks fab with the right colour combo and finishing.
Here at Super Queenie we like to use retro off cuts and vintage fabrics for a one of a kind look, also some vintage cottons are thicker making the bag more sturdy.
Get Started.
2 different fabric lenghs of cotton or linen
(one for outside and one for lining)
1 x fabric for the bow
Usual sewing equipment, sewing machine, scissors, pins, pattern paper, neddle and thread.
Making the pattern. (Top photo)
Okay lets get started, mark out the pattern on the pattern paper,
(see top right) The two left sections are the bag part and the right the lid of the bag.
I have already included a seam allowence so no need to add extra, unless of course you wanted it bigger!
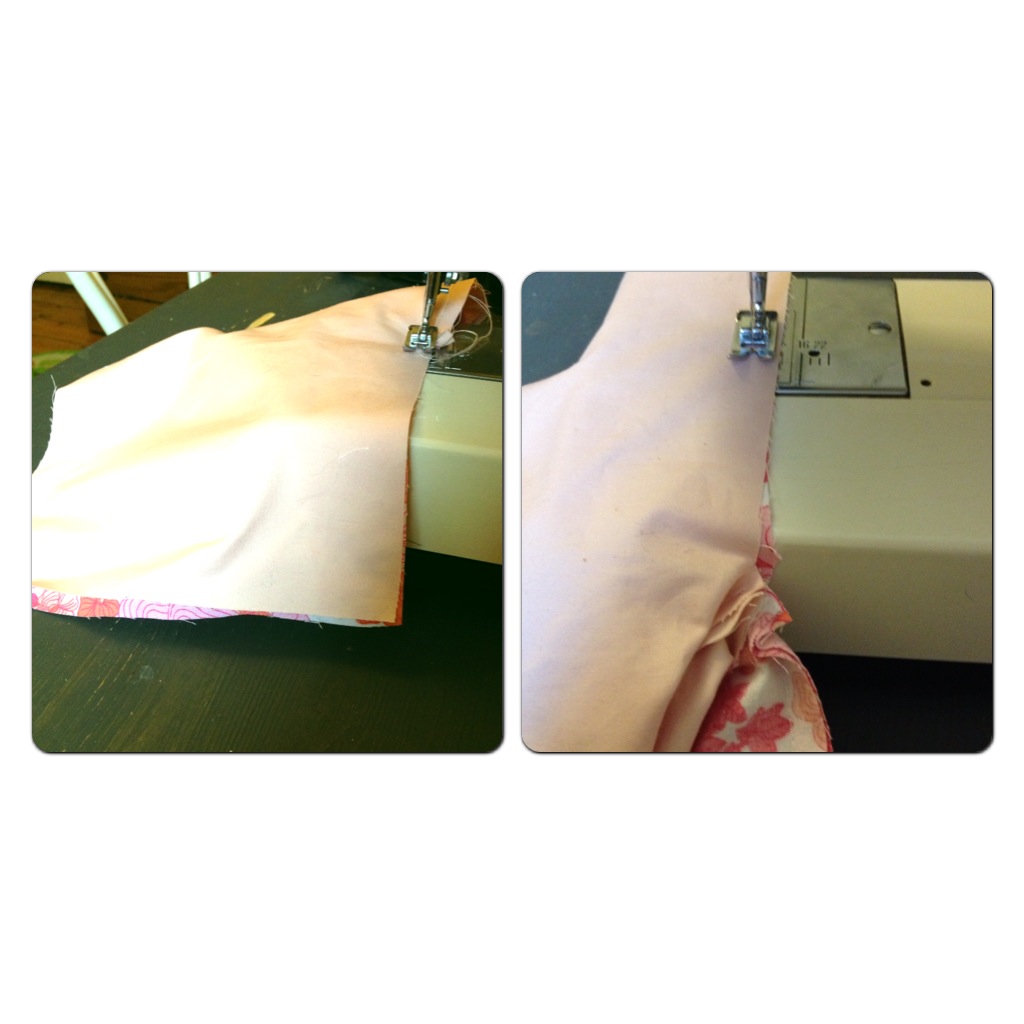
For each layer place right side facing up, and pin the bottom half to the top of the lid ( see right)
Sew 1cm from the side each side.
Turn the bag the right way out, and iron the seams flat.
To sew to two parts together, Lay one piece down and place the other on top, front to front. Line up the two lips of the bag, and pin, making sure you go from corner to corner and that they match even.
Sew Together!
Now for the bit thats a little hard to explain, you need the lids of the bags right sides together, (see photo below, the part I am holding) take your time matching them up and pinning in place, sew neatly around, all the sides, BUT LEAVE A 2" GAP to turn the bag the right way around again!
Trim any excess fabric, making the seams neat and turn back the right way, pulling through the gap that you left, and pushing the lining in place. This is the best bit! you get to see what your bag looks like!
Iron again to make it neat and lovely looking. Now is time to top stitch. Top stitching will give a really neat and prosessional finsih. It will also close up the gap you left in the side of the top. So first where you left a gap, tuck end fabrics inside and pin so that it is level with the rest of the bag, and sort out any stray threads or fabric.
So, start sewing where you pinned the gap shut, lay the presser foot close to the edge of the fabirc as possiable but make sure you are sewing both layers of fabric, and continue all around the lid of the bag.
Top stitch the top of the bag too.
Congratulations the bag is done, now for the bow!
Cut
out the fabric for the bow, I use roughly the same size as the lid of
the bag, plus add a bit extra for seam allowences. If you want a larger
bow, then add more length.
As
for fabric, here I have used a silver metallic lame. stiffer heavier
fabrics are good, like the bag at the top of the page, or can be a nice
touch to use the same pattern as the lining.
So for the bow, sew back to back, and leave one side open. Turn the right way around. Pin the side left open shut, tucking in the ends,
and top stitch all the way around. ( see photo, bottom right)
Use a small off cut of fabric to make a strip, making a seam each side.
Concertina the bow and wrap the strip around the middle, hand sewing in place at the back.
Now all you need to do is to hand attach the bow to the bag. I sew at the corners of the bow to the bag, but you could just join at the middle.Be careful to only sew through the top layer of the bag.
Subscribe to:
Posts (Atom)